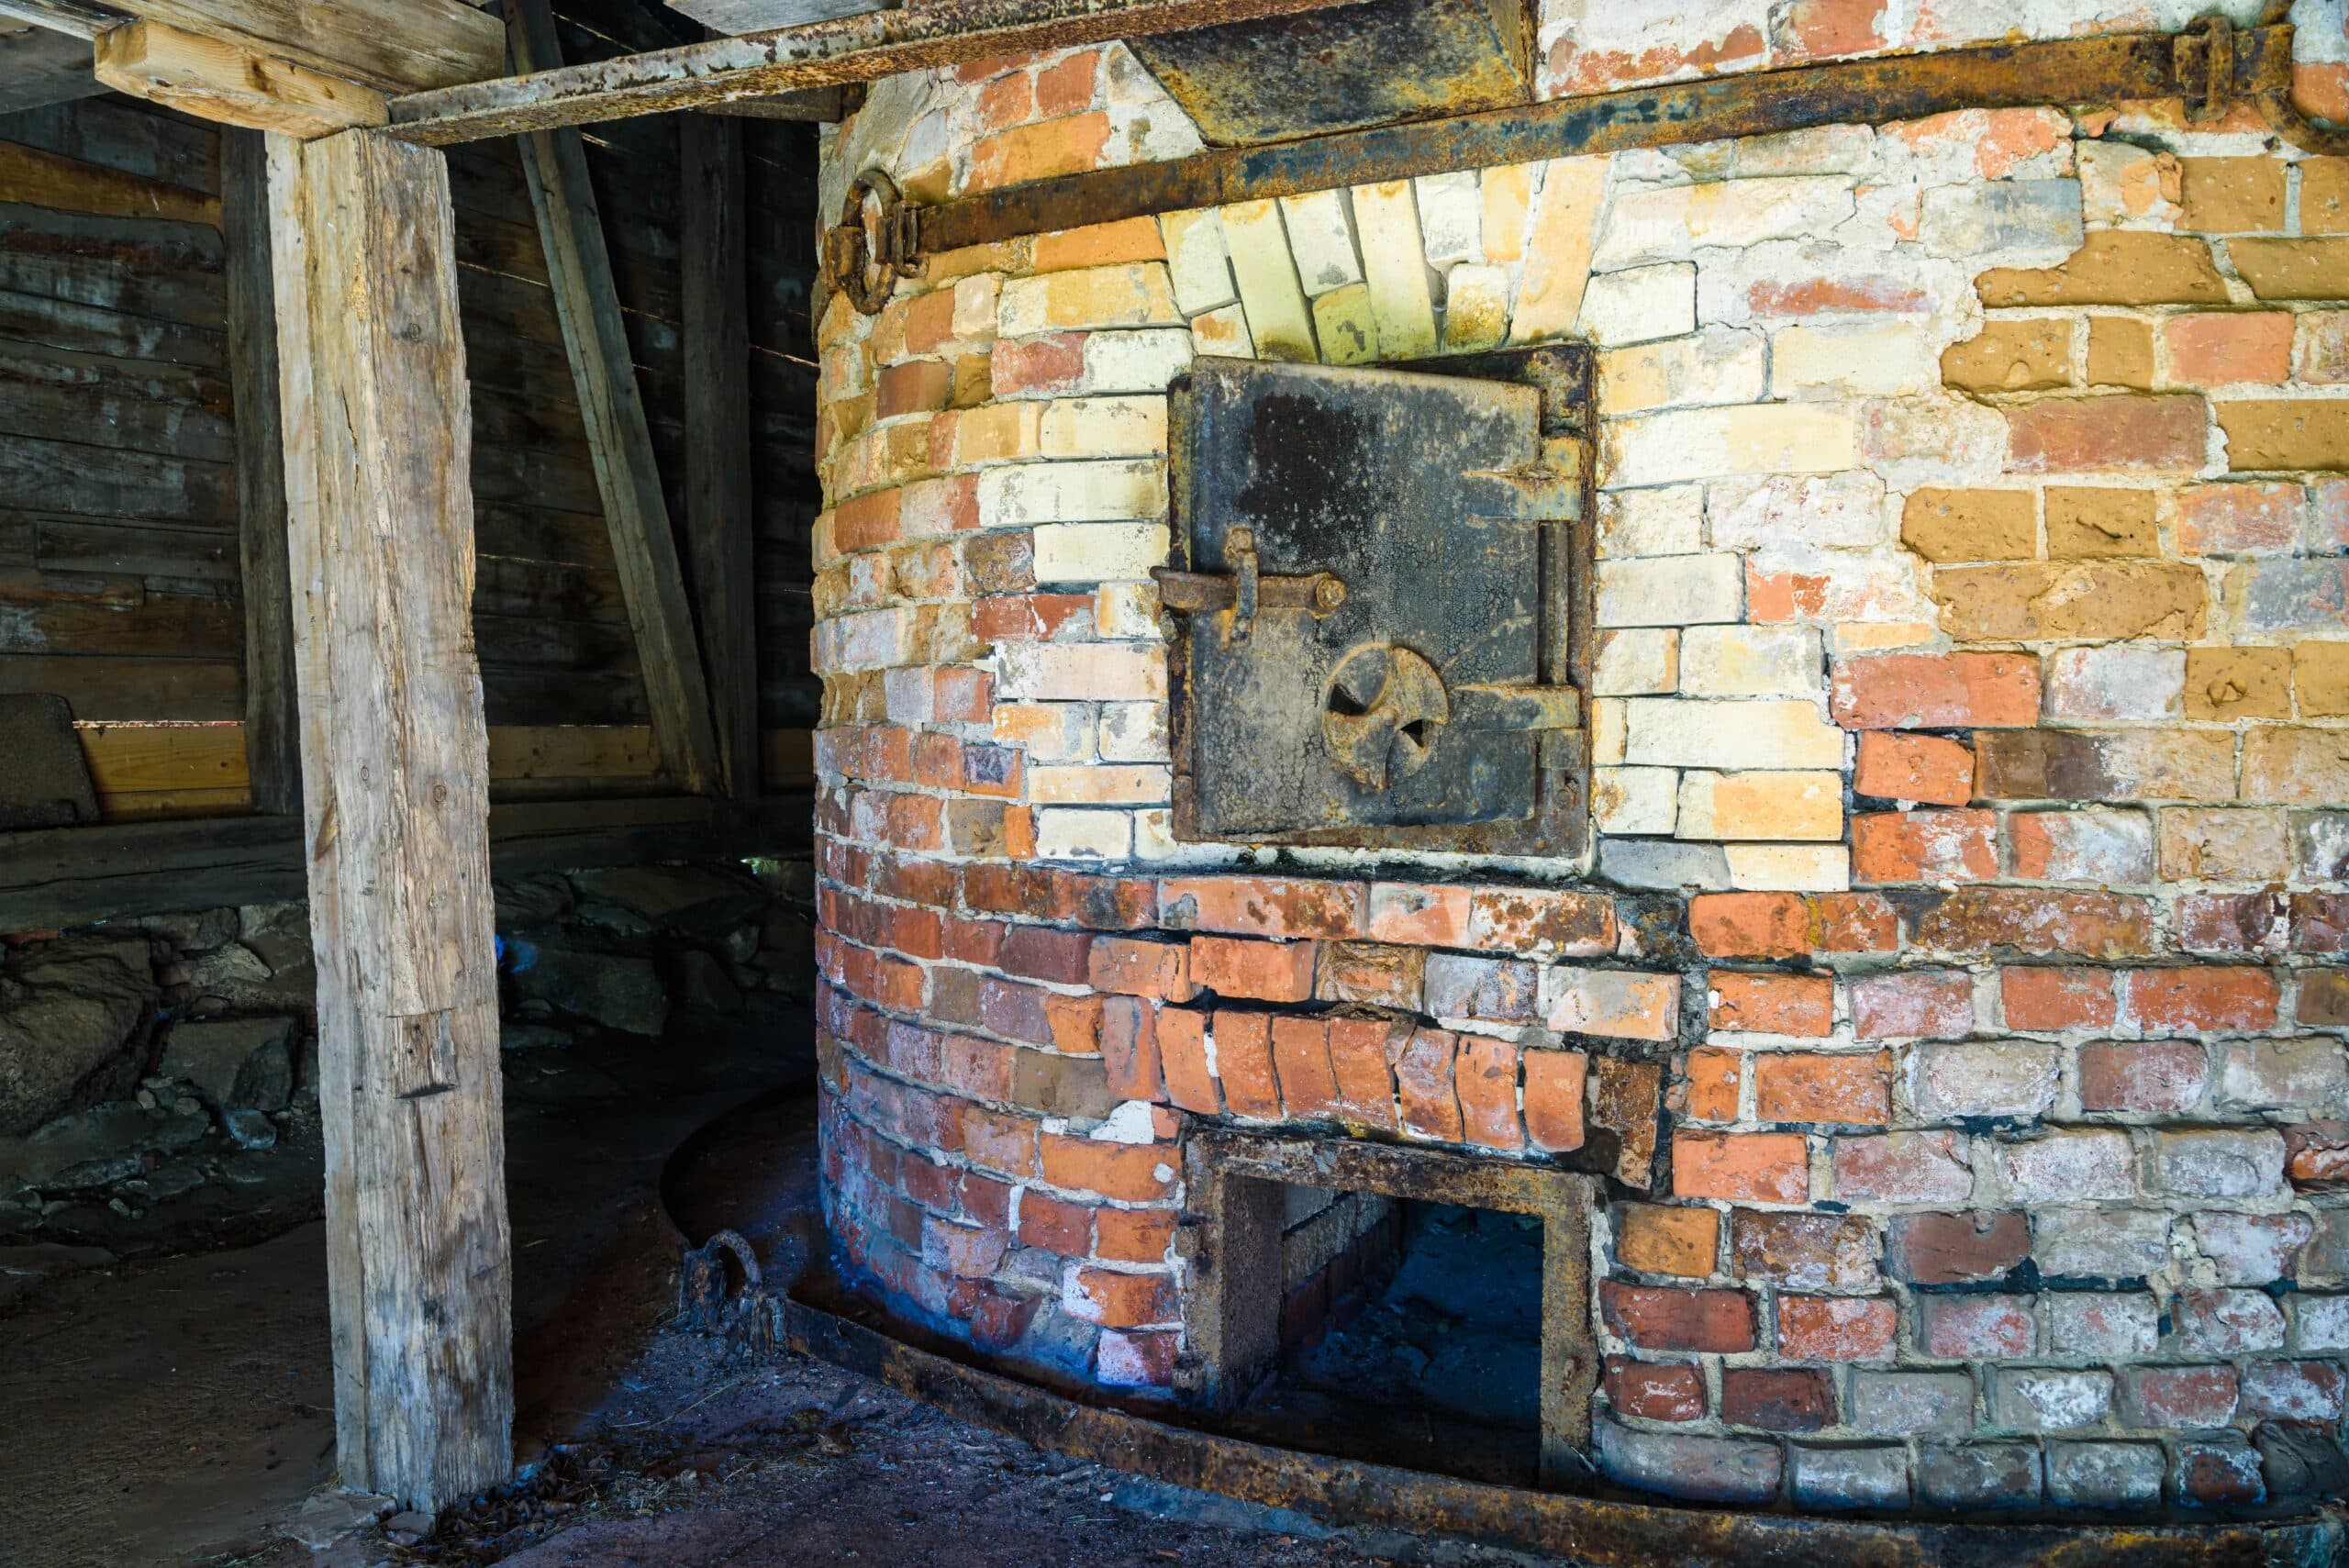
As an artist, your kiln is probably one of your greatest investments. With it your pieces come to life, and without it, you would be in a bind. At least once in your career as an artist, you’ll have to move your kiln as you move homes or studios. You know that your kiln, though it’s huge, can also be easily damaged. We’ve put together a list of five tips for moving large kilns that will help you prepare for your move so that it is executed perfectly with no damage to your kiln.
1. Prepare a Base
Regardless of how you plan to transport your kiln, it is crucial you create a sturdy base that will both hold up to the weight of the kiln as well as keep your kiln upright and stable during the move.
Before you begin putting the base together, make sure that you have taken measurements of your kiln and your building materials. The kiln should fit on the base with no overhang.
We recommend taking a note from kiln manufacturers and building a wooden base for the kiln. The easiest way to do this is to take a pallet and nail plywood over it, creating a solid base. Another option is to create your own base using 2x4s then nail plywood on top of that. No matter which route you take, after the plywood is secure, cover the base with 1-inch foam boards. This prevents damage to the bottom of your kiln and gives it a stable yet cushioned place to sit.
2. Pack your Kiln
A helpful practice before lifting your kiln onto its transportation base is to pack it. This dampens the vibrations that will occur during lifting and travel. There are several materials you can use to pack your kiln, like towels or even pool noodles.
However, if you’re transporting a large kiln, we have found that the easiest and lightest packing materials are cardboard boxes. Filling your kiln with cardboard fills up the empty space, but it is very light compared to bags full of towels, and it’s more accessible and less expensive than buying a bunch of pool noodles. When transportation is complete, you can simply bring the boxes to recycling.
One important rule when packing your kiln for transportation is that you don’t leave anything heavy or breakable inside, not even your shelves. If you do, you’re taking a huge risk that will almost certainly result in a damaged or totally broken kiln.
3. Wrap for Transport
Once the inside of your kiln is packed with cardboard, it’s time to wrap it. Using the same kind of foam board that is on the pallet base you created, place a foam sheet underneath the lid. The foam sheet must extend under the lid completely so that no section of the lid touches the kiln walls. If you are moving a front-loading kiln, secure the foam board between the door and firing chamber.
If possible, put foam insulation between the wall sections and between the wall and the floor. The more foam you can use to prevent friction and grinding, the better off you’ll be. Any bit of rubbing can severely damage your kiln. Take the extra precautions before your move to save you money in the long run.
4. Lift, don’t Push
Now that your kiln is insulated, it’s time to move it to the base. Rule one of moving a kiln: lift, don’t push. When you push a kiln, you will almost always cause some kind of stress fracture or breakage. Never lift a kiln by the peephole. Use the hand-lifts or lift from the bottom. When lowering the kiln onto the base, take caution to lower as smoothly as possible.
When transporting large kilns, you’ll need the assistance of a forklift. Before scheduling your mover, make sure they are aware of your needs as well as an estimated weight of your kiln. This will help them prepare to bring in the equipment necessary to safely move your kiln intact.
5. Final Wrapping and Precautions
So far, you’ve packed, insulated, and moved your kiln onto its base. Now for the final layer of protection.
You have several options for the final wrapping of your kiln. You can simply wrap with foam or bubble wrap, secure it onto the base with straps, then be on your way. However, to be extra safe, we suggest taking yet another note from kiln manufacturers and building a crate around your kiln using 2x4s and a lot of foam insulation between the boards and the kiln. This will further stabilize the kiln on its base, plus it will prevent anything from sliding into the sides of your kiln and will prevent your kiln from bumping directly against the side of the truck or trailer.
After it is totally protected, it will go on the truck. The safest way to transport your kiln is to place it in the front corner of the truck or trailer that it’s going on because this location has the least chance of movement.
The Prep Is Worth Your Trouble
As you can see from our tips, there is a lot that goes into securing your large kiln for transportation. However, for just a few dollars and a little time, you can prepare your kiln for a safe, secure trip. When your kiln finally arrives at its new home unscathed and ready for firing, you’ll be glad you spent the time and energy prepping it for its big move.
Learn more about our structural moving services.